
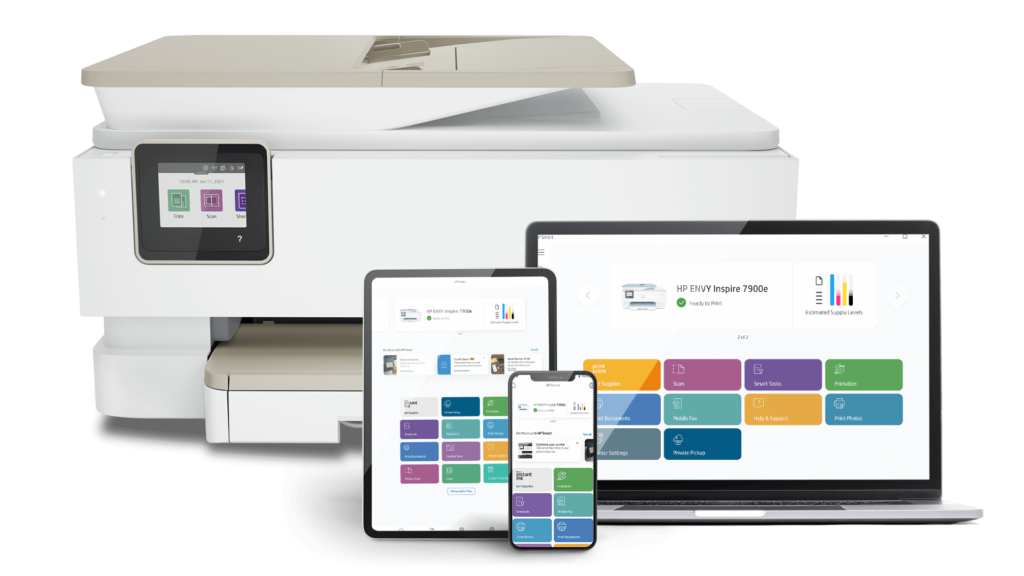
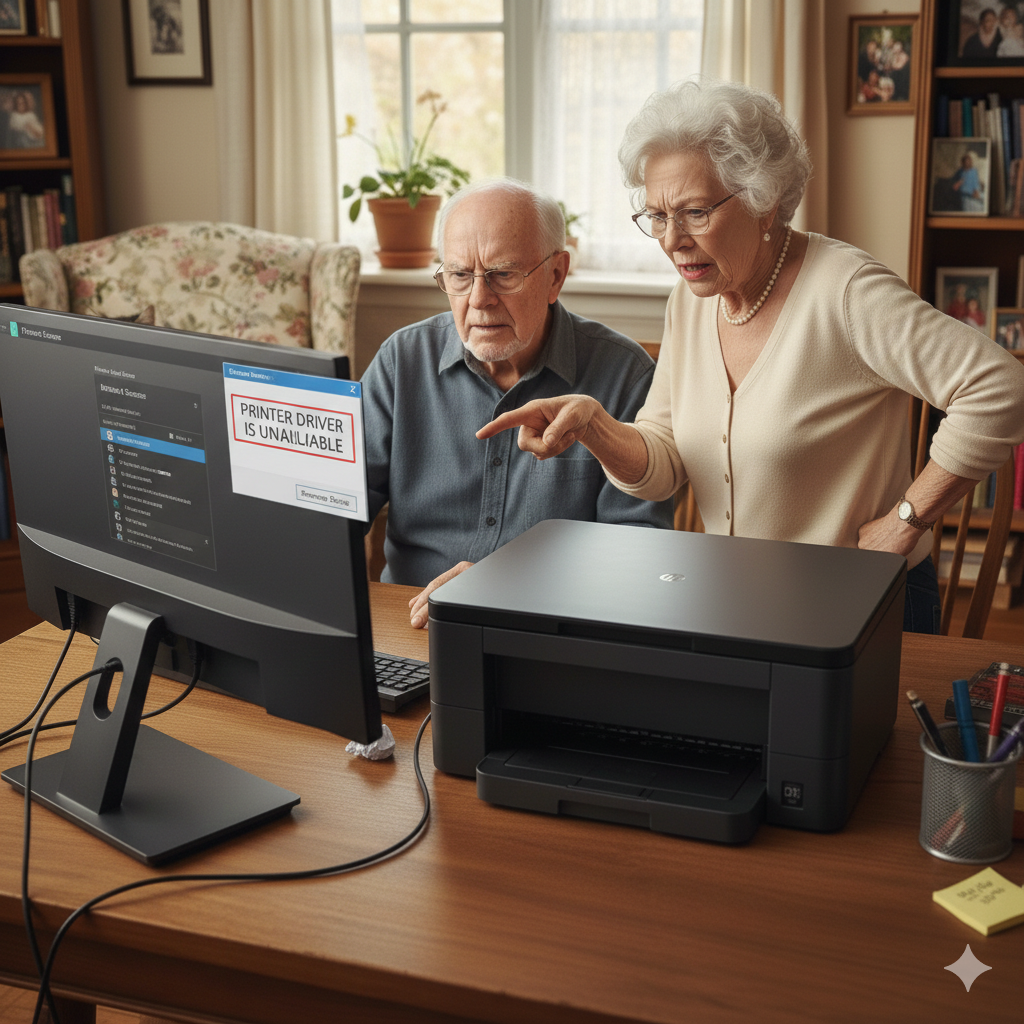
Printer Driver Installation Failed: Fatal error C0000022 occurred. Chat with our support team for a solution.
Caution: Any further installation attempts may result in damage to the printer and loss of warranty coverage.
Caution: Any further installation attempts may result in damage to the printer and loss of warranty coverage.

-
Sale!
 HP
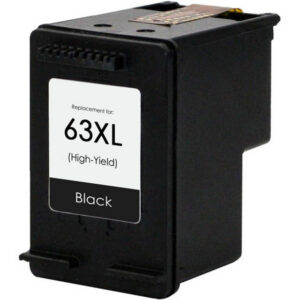
HP63XL High-Yield Black Ink Cartridge (F6U64AN)
Original price was: $15.00.$14.00Current price is: $14.00. -
Sale!
 kodak
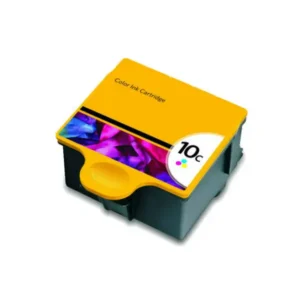
kodakCompatible High-Yield Color Ink Cartridge (8946501)
Original price was: $20.00.$19.00Current price is: $19.00. -
Sale!
 kodak
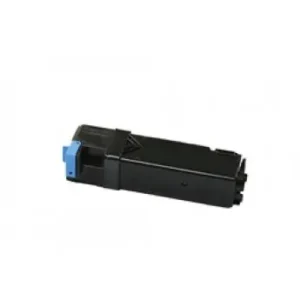
kodakCompatible Yellow Toner Cartridge (106R0333)
Original price was: $15.00.$14.00Current price is: $14.00. -
Sale!
 kodak
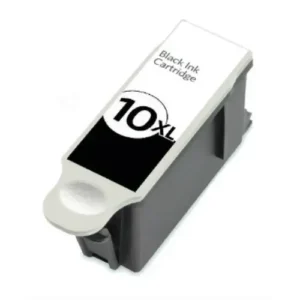
kodakHigh-Yield Black Ink Cartridge (10XL Compatible, 8237216)
Original price was: $20.00.$15.00Current price is: $15.00. -
Sale!
 kodak
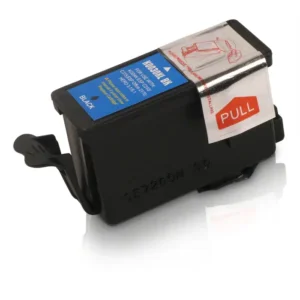
kodakHigh-Yield Black Ink Cartridge (30XL Compatible, 1550532)
Original price was: $15.00.$13.00Current price is: $13.00. -
Sale!
 HP
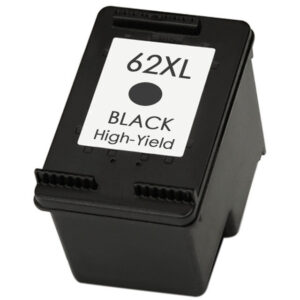
HPHigh-Yield Black Ink Cartridge (62XL Compatible, C2P05AN)
Original price was: $15.00.$14.00Current price is: $14.00. -
Sale!
 kodak
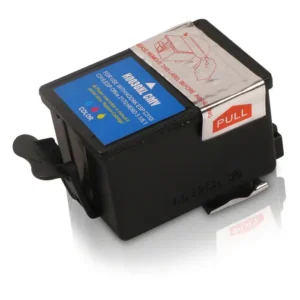
kodakHigh-Yield Color Ink Cartridge (30XL Compatible, 1341080)
Original price was: $15.00.$14.00Current price is: $14.00. -
Sale!
 HP
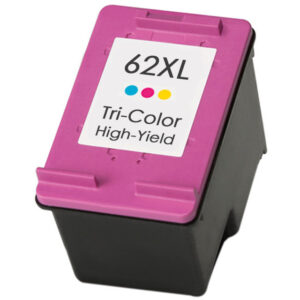
HPHigh-Yield Color Ink Cartridge (62XL Compatible, C2P07AN)
Original price was: $15.00.$13.00Current price is: $13.00. -
Sale!
 HP
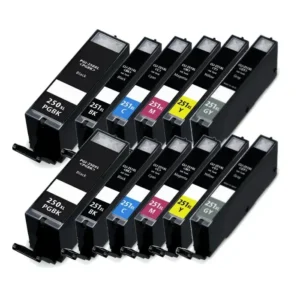
HPHigh-Yield Ink Cartridge 12-Pack (PGI-250XL & CLI-251XL Compatible – Complete Color & Black Set)
Original price was: $20.00.$15.00Current price is: $15.00. -
Sale!
 HP
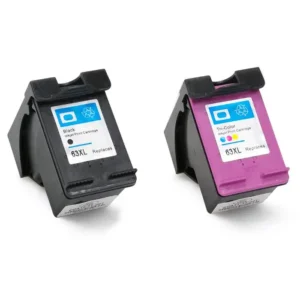
HPHigh-Yield Ink Cartridge 2-Pack (63XL Compatible – Black & Color Combo)
Original price was: $15.00.$14.00Current price is: $14.00. -
Sale!
 kodak
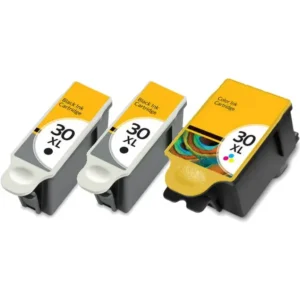
kodakHigh-Yield Ink Cartridge 3-Piece Combo Pack (30XL Compatible)
Original price was: $15.00.$12.00Current price is: $12.00. -
Sale!
 HP
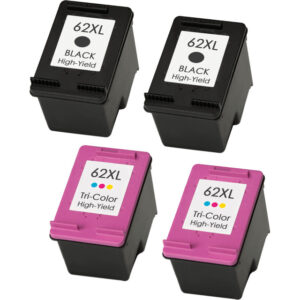
HPHigh-Yield Ink Cartridge 4-Pack (62XL Compatible – 2 Black & 2 Color)
Original price was: $15.00.$14.00Current price is: $14.00.

-
Sale!HP
63XL High-Yield Black Ink Cartridge (F6U64AN)
Original price was: $15.00.$14.00Current price is: $14.00. -
Sale!kodak
Compatible High-Yield Color Ink Cartridge (8946501)
Original price was: $20.00.$19.00Current price is: $19.00. -
Sale!kodak
Compatible Yellow Toner Cartridge (106R0333)
Original price was: $15.00.$14.00Current price is: $14.00. -
Sale!kodak
High-Yield Black Ink Cartridge (10XL Compatible, 8237216)
Original price was: $20.00.$15.00Current price is: $15.00. -
Sale!kodak
High-Yield Black Ink Cartridge (30XL Compatible, 1550532)
Original price was: $15.00.$13.00Current price is: $13.00. -
Sale!HP
High-Yield Black Ink Cartridge (62XL Compatible, C2P05AN)
Original price was: $15.00.$14.00Current price is: $14.00. -
Sale!kodak
High-Yield Color Ink Cartridge (30XL Compatible, 1341080)
Original price was: $15.00.$14.00Current price is: $14.00. -
Sale!HP
High-Yield Color Ink Cartridge (62XL Compatible, C2P07AN)
Original price was: $15.00.$13.00Current price is: $13.00. -
Sale!HP
High-Yield Ink Cartridge 12-Pack (PGI-250XL & CLI-251XL Compatible – Complete Color & Black Set)
Original price was: $20.00.$15.00Current price is: $15.00. -
Sale!HP
High-Yield Ink Cartridge 2-Pack (63XL Compatible – Black & Color Combo)
Original price was: $15.00.$14.00Current price is: $14.00. -
Sale!kodak
High-Yield Ink Cartridge 3-Piece Combo Pack (30XL Compatible)
Original price was: $15.00.$12.00Current price is: $12.00. -
Sale!HP
High-Yield Ink Cartridge 4-Pack (62XL Compatible – 2 Black & 2 Color)
Original price was: $15.00.$14.00Current price is: $14.00.
he ink quality is excellent and works perfectly with my printer. I’ve saved a lot compared to original cartridges, and the delivery was quick. Hprints is a smart choice for regular printing.

Sandeep Malhotra
I switched to Hprints for eco-friendly reasons, but the performance really impressed me. Clean prints, no issues, and great customer support. Highly recommended.

Pooja Nair